-40%
USA - DIY Stretcher Bars 16x20" (40x50cm) - Paint by Number Kit Acrylic Painting
$ 10.55
- Description
- Size Guide
Description
My Paint by NumbersKit Contents:
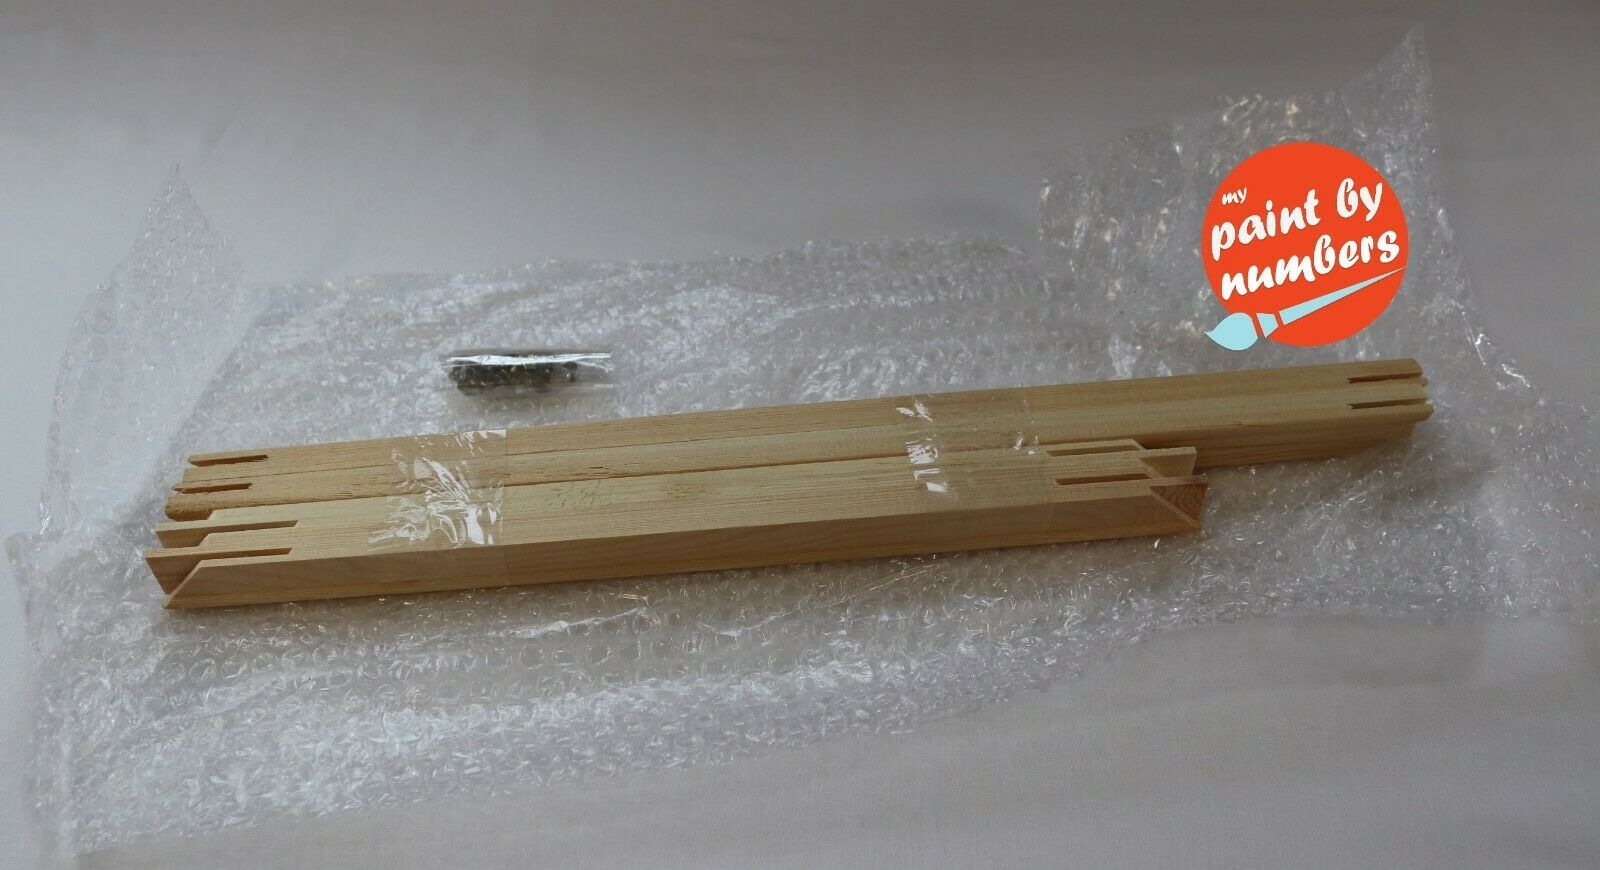
1x DIY 16x20" frame (made of 4x total pieces, 2x 16" and 2x 20")
12x thumbtacks for easy DIY stretching
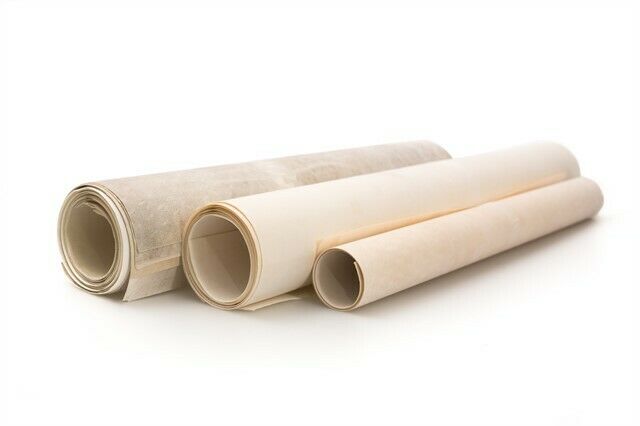
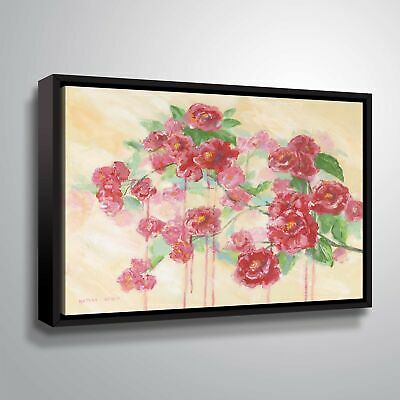
This does NOT include the canvas! Canvas is for demonstration only!
Description:
This easy DIY frame does not require any tools to put together. Just follow the below steps for assembly!
Part 1: How to Assemble the DIY Frame/Stretcher
Step 1:
Lay out your frame and thumb tacks on a flat surface. Put the thumb tacks over to the side until the DIY frame is assembled.
Step 2:
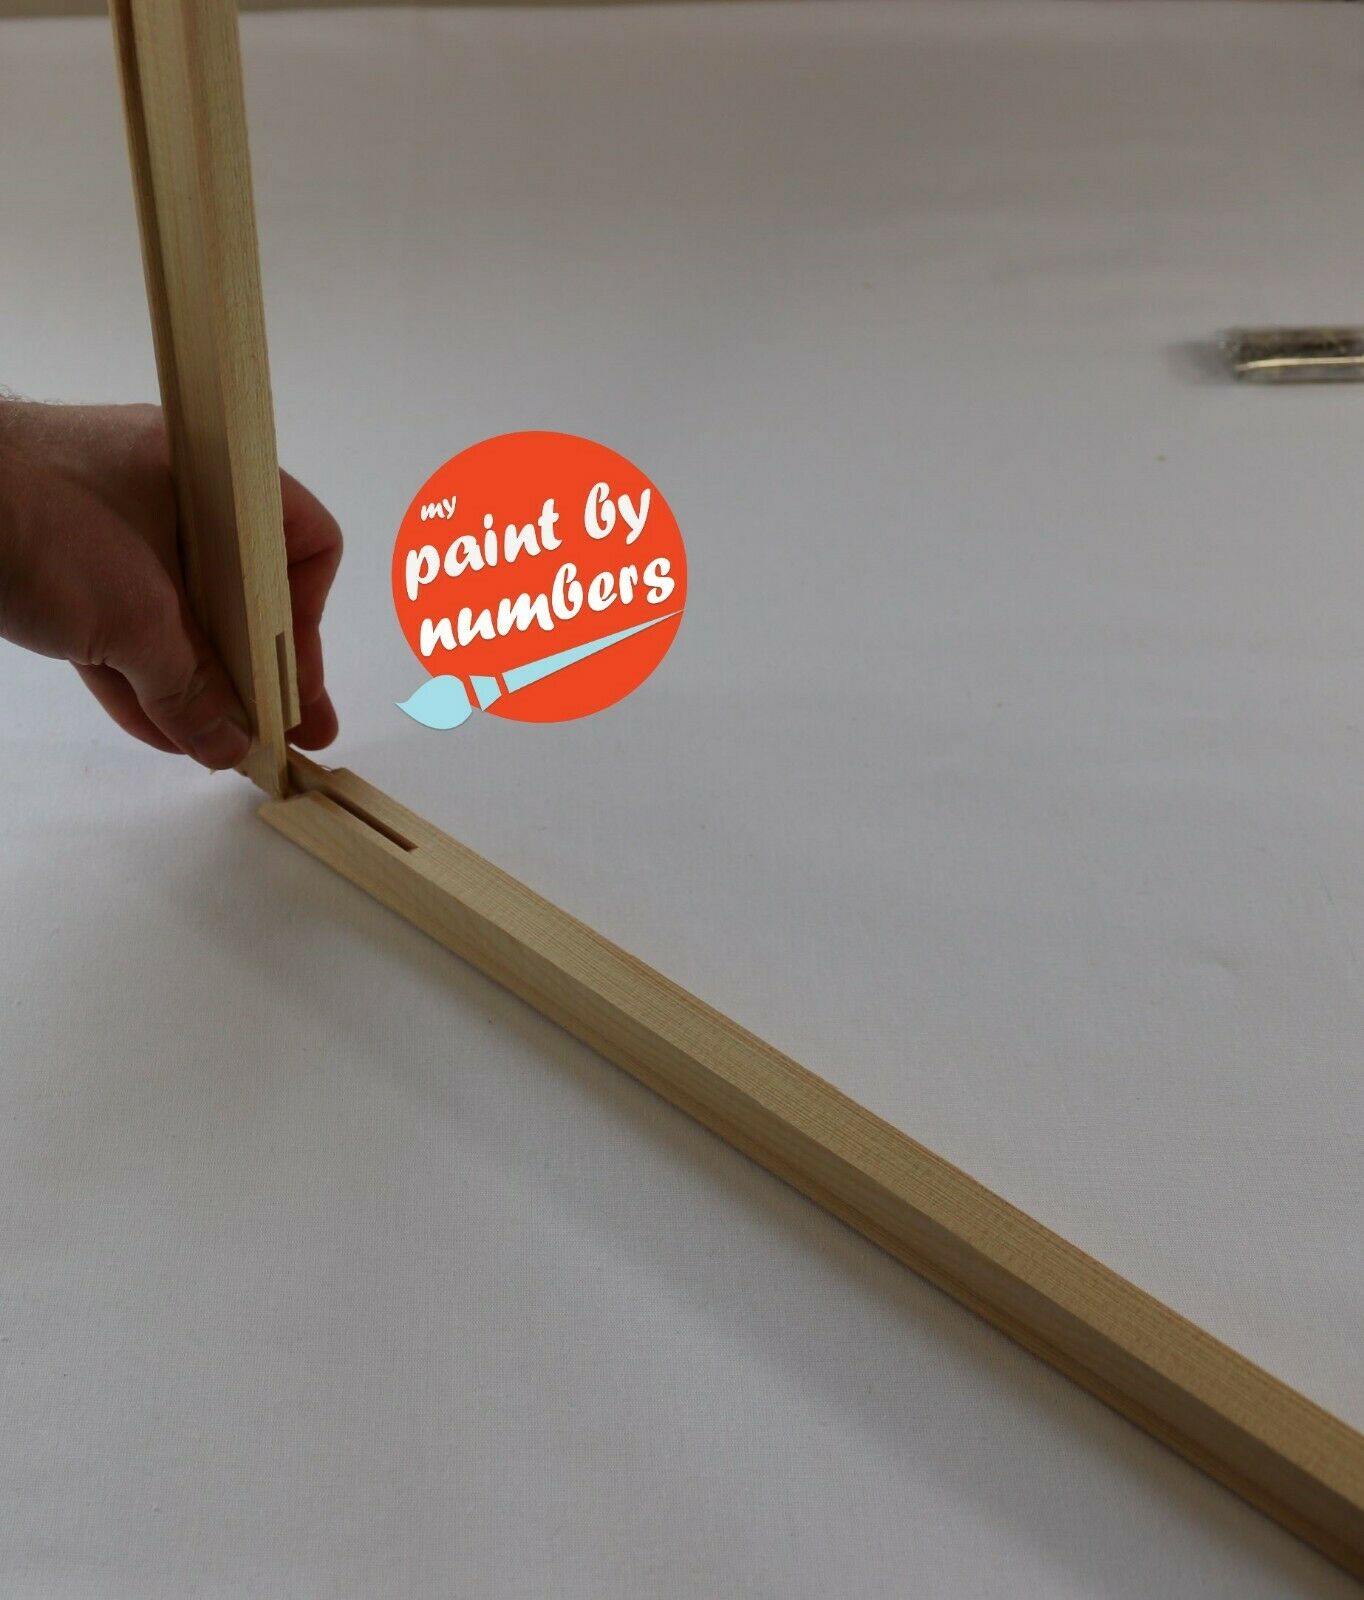
Connect the first two frames by sliding the corner of a longer and shorter piece into one another. Each piece of wood from our frames come with pre-cut grooves so no tools are necessary. It's okay if the pieces are not perfectly perpendicular at this point. Once the 4th piece is added the frame will come together.
Step 3:
Connect the other short piece so you have 3 parts of the frame together. Once this is ready, add the final piece of the wooden frame so that you complete the rectangle. Once everything is securely in, you should be able to straighten out the frame so each of the bars forms a 90 degree angle.
Part 2: How to Stretch the Canvas
Step 1:
Lay out your assembled frame and canvas onto a flat surface. Put the now assembled frame, paints, brushes, and anything else included in your kit over to the side.
Step 2:
Unroll the canvas. Canvases may sometimes have wrinkles. You can get them out with an iron on high with a very small bit of steam. Make sure you iron face down to prevent any of the lines and numbers from smudging!
Step 3:
Once your canvas has all the wrinkles out, lay it face down on your flat surface. Line up your frame with the border of the underlying kit. This is best done under bright light so you can see the outline through the canvas.
The flat side of the frame should touch the canvas and the beveled side should be facing you!
The rounded edges are very important for canvas. The roundness increases the surface area of the wood, which lowers the friction the frame has with the canvas. By reducing the friction, it will allow you to more easily pull the canvas over the frame, and ultimately make it more taught. The rounded edges will also prevent the canvas from splitting or cracking.
Step 4:
Pull back the first long side of the canvas and thumb tack it to your frame. Try to make sure that the underlying border is lined up and that the canvas runs straight along your frame. Only put the thumb tack in half way so that you can easily pull it out with a pair of scissors or back of a hammer if anything is too far off!
Step 5:
Continue to make sure that your frame is straight and perpendicular to with you canvas. The underlying image can still be adjusted to be aligned with the frame. Put the second thumbtack into the other long side of the frame.
Step 6:
Make sure to pull tight to make the underlying lines align with the frame as you go along. Double check by flipping back and forth to see how it's going. Once you feel comfortable, go ahead and put thumb tacks into the two shorter frames
Step 7:
Finally, fold over your corners and push a thumb tack through. Remember to only go halfway with the thumb tacks so you can easily pull them out with the back of a hammer or a pair of scissors!
Step 8:
Flip your kit over to make sure it is aligned how you like. Pull the canvas taught to align it even better, and add the final thumb tacks. Once you're satisfied, push the thumb tacks in the rest of the way!
Step 9:
Paint! :)
FANTASTIC GROUP ACTIVITY
- Spend a special night in with the girls (wine recommended)
DIY HOME DECORATION
- Paint your own wall art, even if you have zero artistic ability
PERFECT GIFT IDEA
- Whether it's for a birthday or Mother's Day, give a gift they'll love
RELAX
- Take your mind off the anxieties of the work day and your crap boss. Who needs therapy when you have paint by numbers?
Shipping:
USA Shipping
- Can't wait to get started on your masterpiece? Don't wait for a kit coming from overseas. We ship these kits via USPS first class mail, directly from our US office.
